
Kume Sweater (top-down)
Short Rows step by step
The Kume Sweater is one of my favorite designs ever and one of my most popular designs.
A few weeks ago I published a new version of this beloved garment. The style, fit, and design remain the same. The instructions, though, were reversed. From now on, you can choose to work your Kume to your liking: top-down or bottom-up.
The task of rewriting the instructions was not easy. It involved a lot of detailed work (almost like writing a new pattern) and a second round of testing to double-check everything. I approached the task with a willingness to not only reverse the directions of the knitting instructions but also to improve the fit and feel of the sweater when worn.
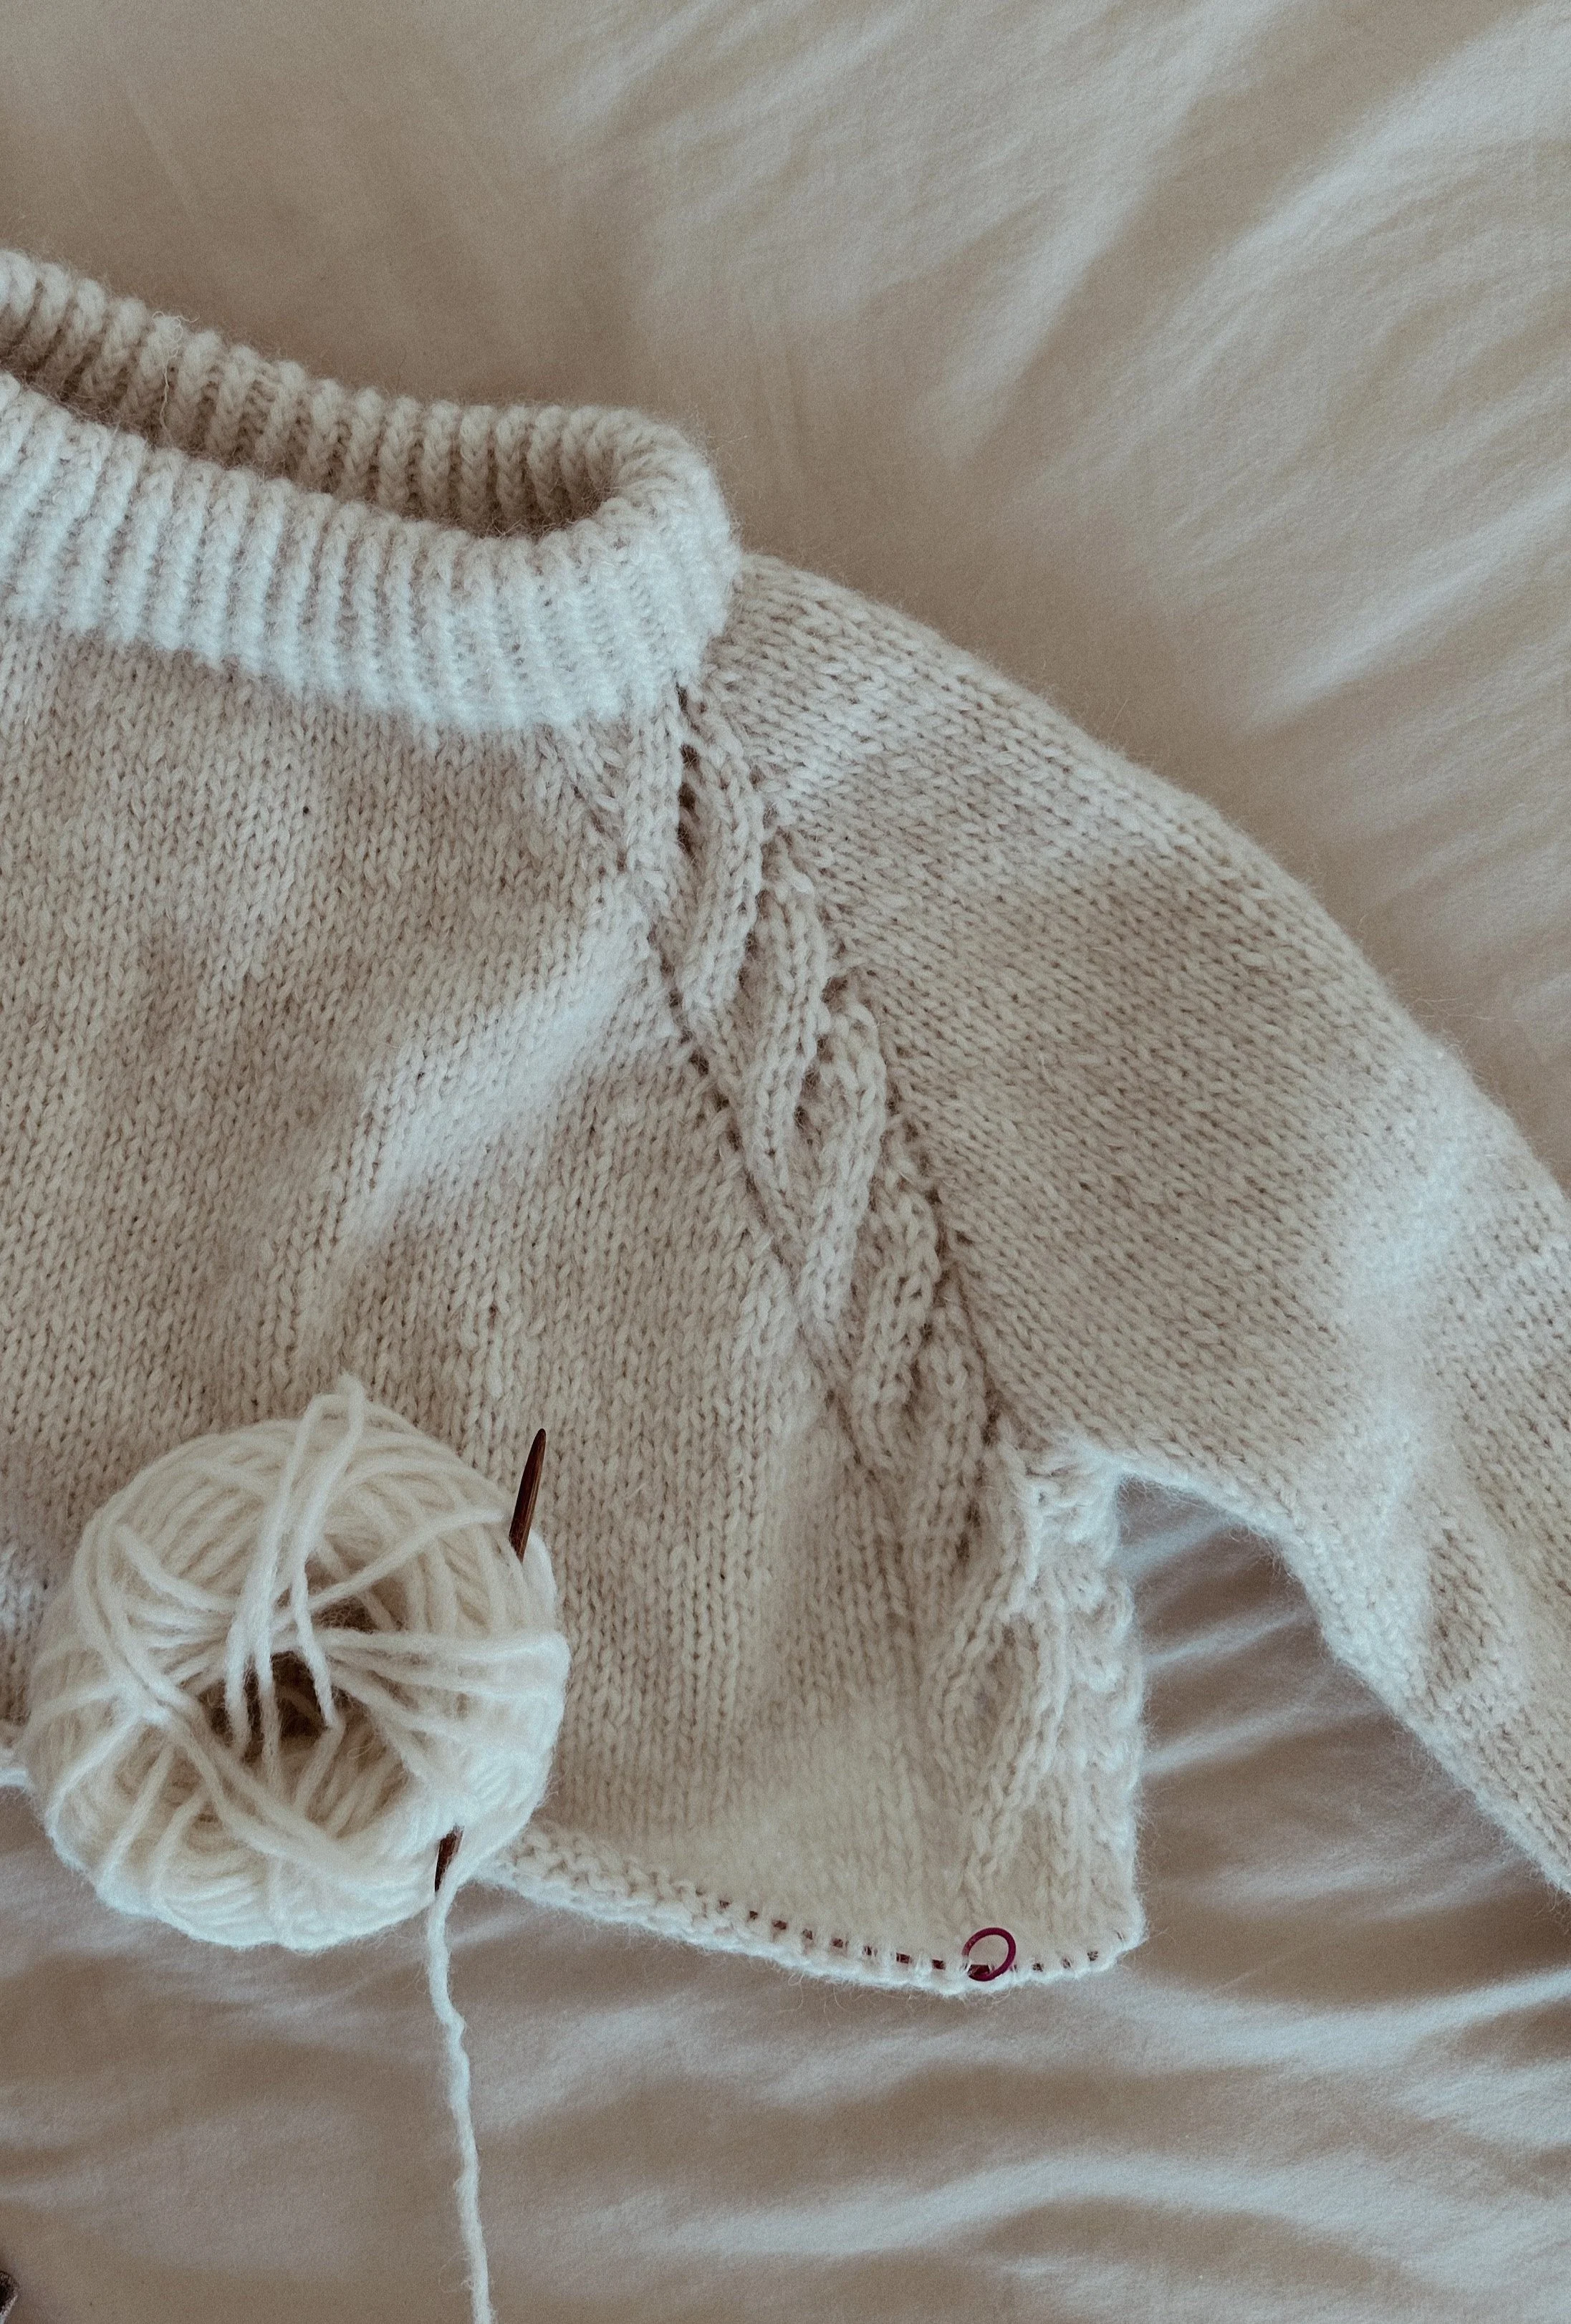
One of the main alterations on this top-down version, as compared to the original bottom-up one, was to do with the Short Row section. After much thought and long conversations with my testers, I decided to approach the shaping of the back from a “knitting nerd” perspective for a perfect fit.
Some of you asked for a more detailed description of the short row section, so I thought I’d leave this step-by-step description here. I chose not to include it in the pattern because it felt too long and perhaps a bit too detailed for some knitters. But in case you find it useful (I know I would!), here they go.
Short Row section (step-by-step)
SHORT ROW 1 (RS): Knit the necessary number of stitches for your size for the back, M1R, slip raglan m, work lace pattern according to chart (WORK ROUND 1 OF LEFT CHART. THIS IS A RS ROW SO READ THE CHART FROM RIGHT TO LEFT) slip lace m, M1L, knit sleeve to next lace m, M1R, slip lace m, work lace pattern according to chart (WORK ROUND 1 OF RIGHT CHART. THIS IS A RS ROW SO READ THE CHART FROM RIGHT TO LEFT), slip raglan m, M1L, knit 2 sts for the front.
Turn work and create JSR stitch.
SHORT ROW 2 (WS): purl to BOR working lace pattern according to chart (THIS IS A WS ROW SO YOU NEED TO WORK ROUND 2 OF THE RIGHT CHART AND THE LEFT CHART. READ THE INSTRUCTIONS FROM LEFT TO RIGHT), slip BOR m, Purl to raglan m, M1RP, slip raglan m, work lace pattern (WORK ROUND 1 OF THE RIGHT CHART. THIS IS A WS ROW SO YOU NEED TO READ THE INSTRUCTIONS FROM LEFT TO RIGHT), slip lace m, M1LP, purl sleeve to next lace m, M1RP, slip lace m, work lace pattern (WORK ROUND 1 OF THE LEFT CHART. THIS IS A WS ROW SO YOU NEED TO READ THE INSTRUCTIONS FROM LEFT TO RIGHT), slip raglan m, M1LP, purl 2 sts for the front. (4 inc’d sts)
Turn work and create JSR stitch.
SHORT ROW 3 (RS): Knit to BOR m working lace pattern according to chart (THIS IS A RS ROW SO YOU NEED TO WORK ROUND 2 OF THE RIGHT CHART AND THE LEFT CHART. READ THE INSTRUCTIONS FROM RIGHT TO LEFT), slip BOR, Knit to raglan m, M1R, slip raglan m, work lace pattern (WORK ROUND 3 of LEFT CHART. READ THE INSTRUCTIONS FROM RIGHT TO LEFT), slip lace m, M1L, knit sleeve to next lace m, M1R, slip lace m, work lace pattern (WORK ROUND 3 of RIGHT CHART. READ THE INSTRUCTIONS FROM RIGHT TO LEFT), slip raglan m, M1L, knit to previous JSR, resolve it and knit 2 more sts. (4 inc’d sts) Turn work and create JSR stitch
Turn work and create JSR stitch.
SHORT ROW 4 (WS): purl to BOR working lace pattern according to chart (THIS IS A WS ROW SO YOU NEED TO WORK ROUND 4 OF THE RIGHT CHART AND THE LEFT CHART. READ THE INSTRUCTIONS FROM LEFT TO RIGHT), slip BOR m, Purl to raglan m, M1RP, slip raglan m, work lace pattern (WORK ROUND 3 OF THE RIGHT CHART. THIS IS A WS ROW SO YOU NEED TO READ THE INSTRUCTIONS FROM LEFT TO RIGHT), slip lace m, M1LP, purl sleeve to next lace m, M1RP, slip lace m, work lace pattern (WORK ROUND 3 OF THE LEFT CHART. THIS IS A WS ROW SO YOU NEED TO READ THE INSTRUCTIONS FROM LEFT TO RIGHT), slip raglan m, M1LP, purl to previous JSR, resolve it and purl 2 more sts. (4 inc’d sts)
Turn work and create JSR stitch.
This establishes the basic how-to of the short rows. From here onwards it’s a matter of repeating the pattern you’ve just established until reaching the necessary number of stitches for your size.
Pay attention to where you are in the pattern. The lace chart pattern is rather easy to read once you get acquainted with it, so make notes throughout to keep track of where you are, and try to work the short row section in one seating!
I hope this guide is helpful. If you have any questions, do not hesitate to contact me at vanessa@vanessapellisa.com. I’m always happy to help!